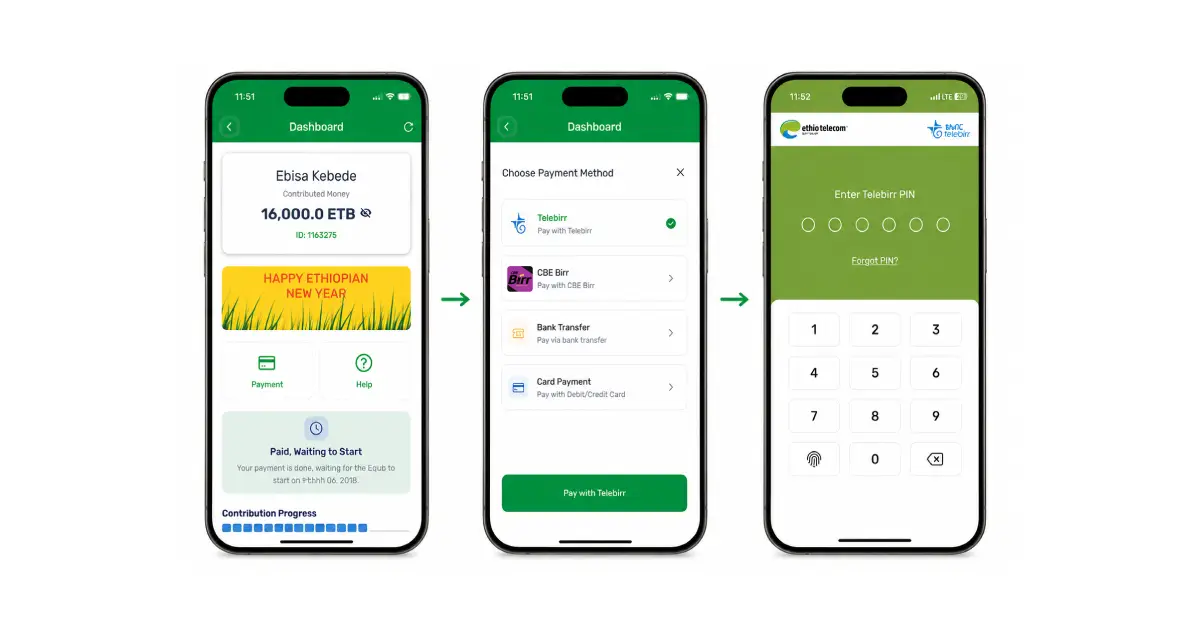
Start Telebirr integration for your app: developer portal, packages, create order, testbed app, callback, SSL certificate and production handoff.
Related guides in this journey
This guide shows how to start the Telebirr process for your app, test create order, connect callback, and prepare for production.
Use the same Telebirr process after your e-commerce app or Ride Hailing app business steps are ready.
Step 1: sign up for the developer portal
Before signup, first finish How to process Telebirr integration for your app or system. After that process is ready, continue with developer portal signup.
Sign up on the Telebirr developer portal. Download the integration method you want, or use one of the packages below.
For InApp testing, you have to install the test app. For iOS, install from TestFlight. For Android, use the APK. While testing, make sure your app does not redirect to the production app; use debug mode to test. In my experience, the Android testbed version is better for testing.
Make sure you store callback data on your server so you can see it and send it to the Telebirr team easily. To log in to the Telebirr testbed, ask Ethio telecom for the test phone and PIN. Do not use your personal account.
Flutter package
For Flutter, use telebirr_inapp_purchase_plus.
Laravel package
For Laravel, use telebirr-laravel-plus.
Node.js package
For Node.js, use telebirr_plus.
Step 2: send your server IP for whitelisting
Test first, then send your server IP to the Telebirr support team so they can whitelist your system.
To create order, implement the request on your backend in Node.js or Laravel using the package above. Replace the values with your own .env and config values from Telebirr developer login.
Create order payload
The payload must be like this:
{
  "sign": "qfT1V1*********private key*********yMHw==",
  "method": "payment.preorder",
  "version": "1.0",
  "nonce_str": "965061********generated by package unique********40be08511233f",
  "sign_type": "SHA256WithRSA",
  "timestamp": "1784882124",
  "biz_content": {
    "appid": "your app id",
    "title": "User wallet deposit",
    "merch_code": "merchant code",
    "notify_url": "https://yourdomain/api/telebirr/inapp/notify",
    "payee_type": "5000",
    "trade_type": "Cross-App",
    "redirect_url": "your website optional",
    "total_amount": "600.00",
    "business_type": "BuyGoods",
    "merch_order_id": "PRIA20unique",
    "trans_currency": "ETB",
    "timeout_express": "120m",
    "payee_identifier": "",
    "payee_identifier_type": "04"
  }
}- Keep
sign_typethe same. - Keep
payee_typeas5000. - Keep
trade_typeasCross-App. - Keep
business_typethe same. - For
payee_identifier, use the merchant code. - Keep
payee_identifier_typeas04if it is not B2B.
Create order flow
The user enters the amount from the mobile app and clicks create order. Then your backend server creates the order using the payload above.
Create order response
After create order succeeds, Telebirr responds like this:
{
  "msg": "success",
  "code": "0",
  "sign": "mPu6K+vOigpeAzFMpH4Yg0lar6BV0//+Y6O2tUTtaSehMQor6jLEaL4tTyQEa7hn7nZ48y9A/FDrJsAIK+0OKSloe3VC/Op5cmRyotofkQ4tk9G0YyIteytAGoe+3JryJsxZdHuhxbEtiEkoUN3fOuvD07KwuiVVr84lYM6xIJZwssZqVliMN1+j2rw6lV6cq1X0e3yMUlZjk6giU/v1D+CuftCPHfQuotQdZq+kAytqBcrjyrk+Giac1RiFW3JpzrVevmQI++xlj1xE9piNSRK0HfElug4Nq9RUXrTSMq4ouIBOoOLOHLw33f5oweLBIBRfXBtDcayv4s/tK3FNpeUGrpuTFp44IUVKt39NeRYNrRb8LWw0gsQSBQF0Wkw6rbz0bIv5QuNGEUyf9XKqFgXC+j0SJbarbB9/iz/X4gbSudGosvh8toEgRjkWympqpRz7iFbK3LrEd0e4m9le9RS",
  "result": "SUCCESS",
  "nonce_str": "0fbd9b1873484fe99305376ecfde16eb",
  "sign_type": "SHA256WithRSA",
  "biz_content": {
    "prepay_id": "0264f433faeded700646ad80fa44f4057cf008",
    "receiveCode": "TELEBIRR$BUYGOODS$***8$600.00$0264f433faeded700646ad80fa44f4057cf008$120m",
    "merch_order_id": "PRIA20260724083524UPMADB"
  }
}
Step 3: test with the testbed app
Use the Flutter package or another package to redirect to the SuperApp testbed app using the receiveCode.
For Android, download the testbed APK here: SuperAppTestBed.apk. Android is recommended because sometimes the iOS version does not work.
For iOS, use TestFlight.
Ask Ethio telecom for the login phone and password to log in to the testbed app. Do not register or use your personal account.
Step 4: prepare callback and SSL
Once create order works, prepare callback. First make sure your domain uses SSL and HTTPS.
Send your IP with port 443.
Test the Telebirr connection
To make the connection between the Telebirr system and your server, test whether your system is whitelisted on both sides.
For testbed development, run this on your server:
curl -kv 196.188.120.3:38443For production, this command exists, but it is not important here:
curl -vk https://196.188.120.5:37443Step 5: send your public SSL certificate
After the above steps, send your public SSL certificate as a .crt file. After that, you can test whether callback or notify URL works.
echo | openssl s_client -connect yourserverdomain:443 -servername yourserverdomain 2>/dev/null \
| openssl x509 -out yourserverdomain.crt
Send the created .crt file to the Telebirr team.
Step 6: send callback response and go production
After you receive your callback, send the callback response to the Ethio telecom team. Then they send you all production details and your app can go live.